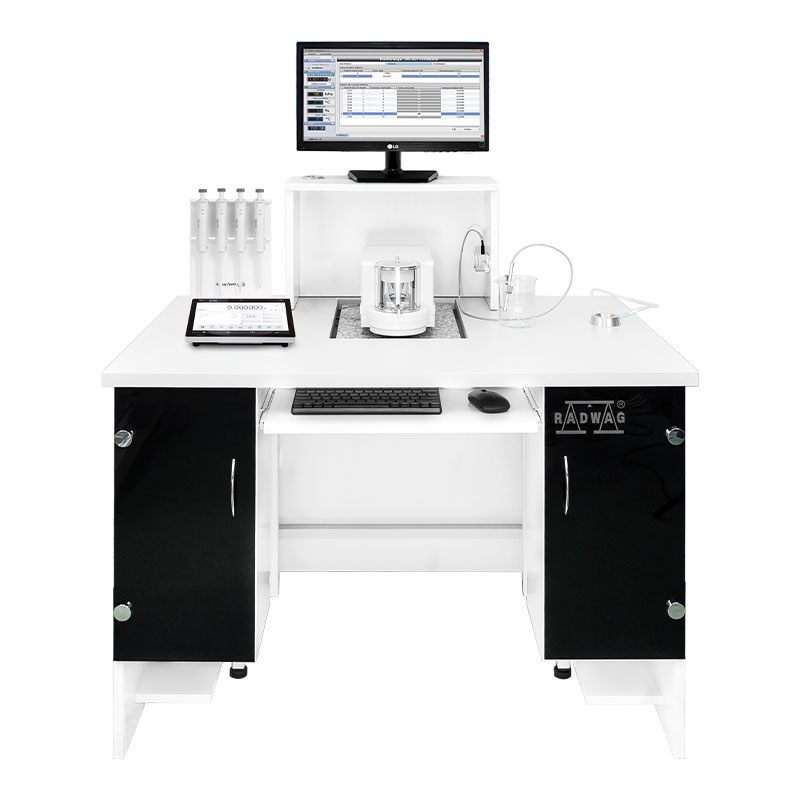
SDKP Workstation for Pipettes Calibration
Calibration of automatic pipettes:
- with fixed volume
- with adjustable volume.
- table for calibration
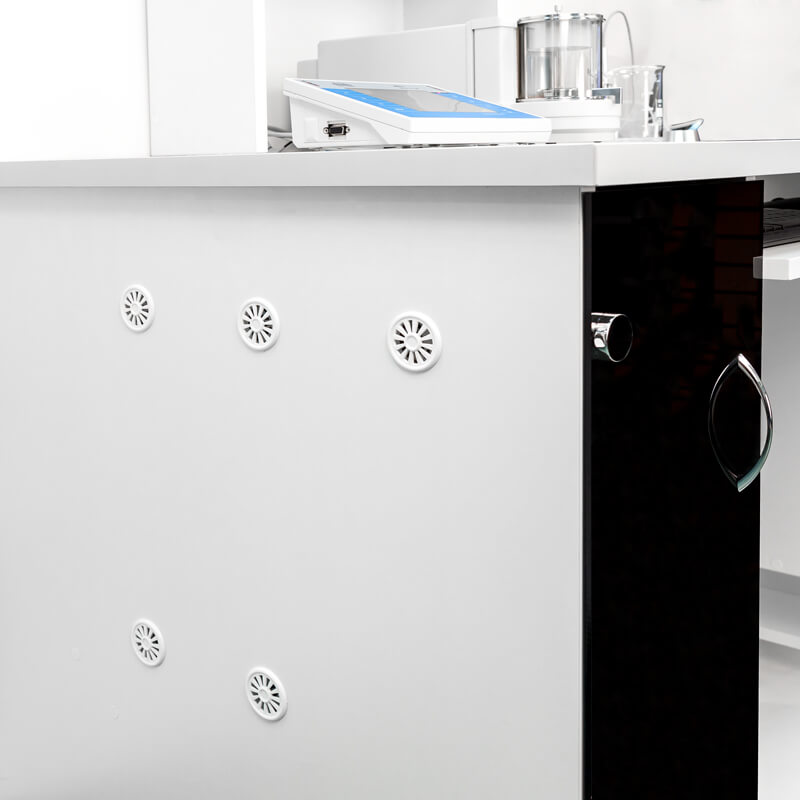
- anti-vibration table
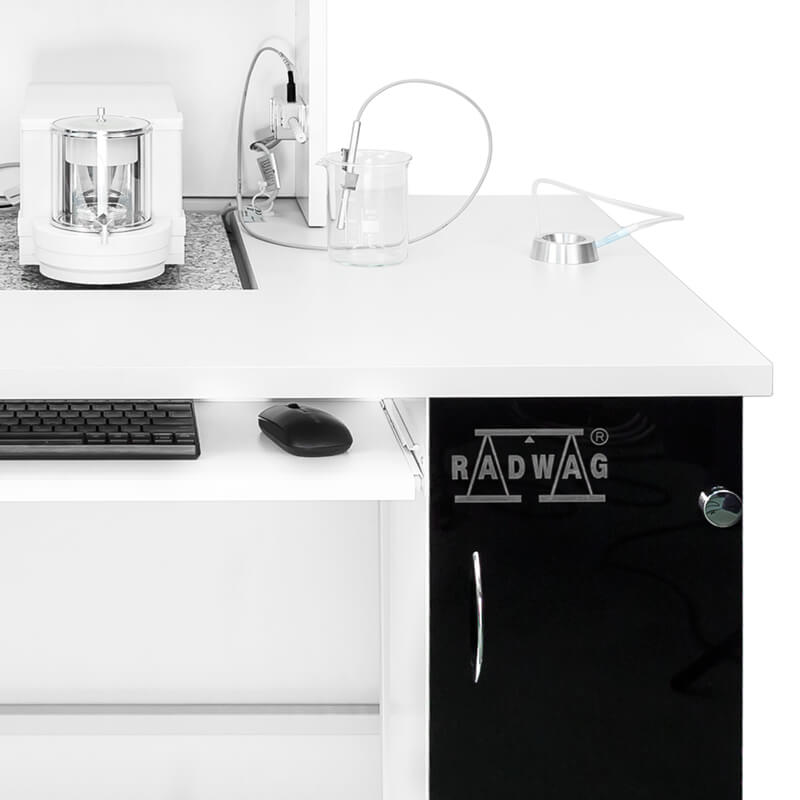
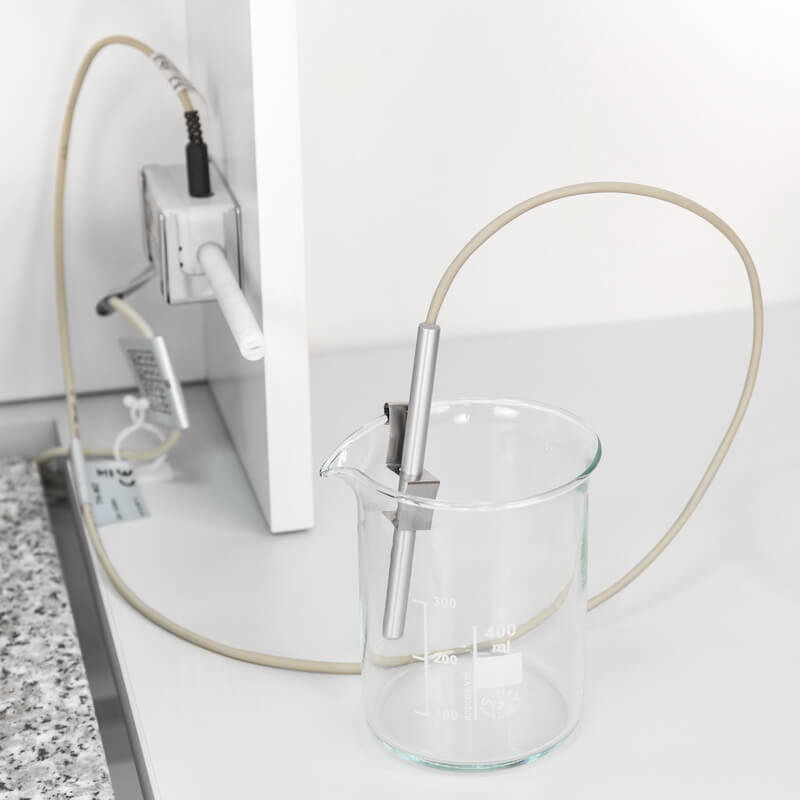
- probe for temperature, humidity and pressure measurement
- probe for water temperature measurement
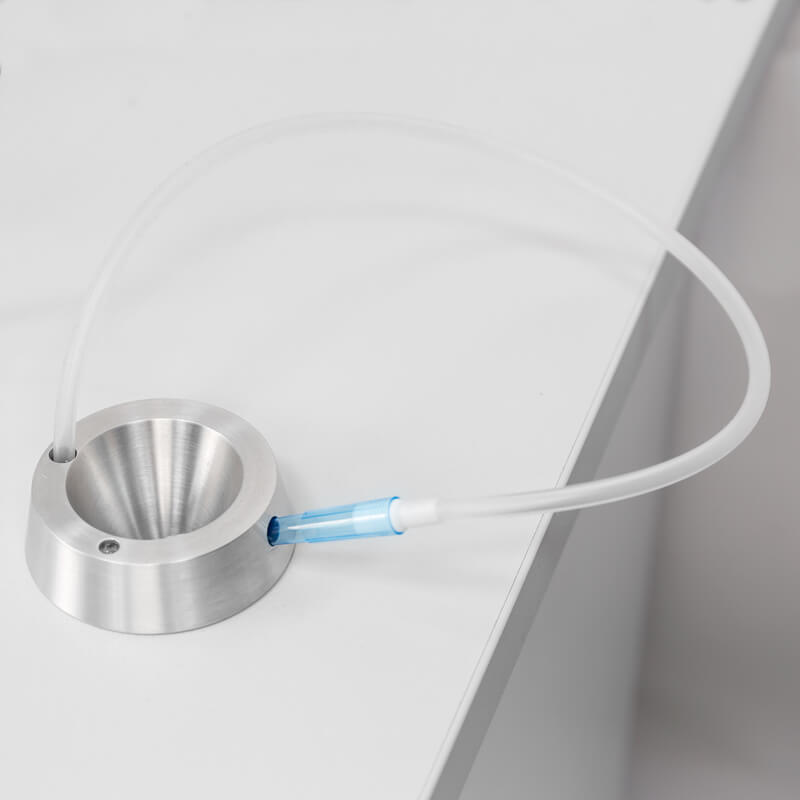
- sink for used water
- armrests
- LCD monitor
- PC with pre-installed software PIPETTES RADWAG
- power supply
- keyboard and mouse
- container for used water
|
Selected volume1 of apparatus under test V |
Resolution mg |
Repeatability and linearity mg |
Recommended balance | |||||
| 1 µl ≤ V ≤ 10 µl | 0.001 | 0.002 |
MYA 21.5Y PLUS MYA 21.5Y |
XA 6/21.5Y.M.A PLUS XA 6/21.5Y.M.A XA 6/21.5Y.M |
||||
| 10 µl < V ≤ 100 µl | 0.01 | 0.02 |
XA 82/220.5Y.A PLUS XA 82/220.5Y.A XA 82/220.5Y |
XA 120/250.5Y.A PLUS XA 120/250.5Y.A XA 120/250.5Y |
||||
| 100 µl < V ≤ 1000 µl | 0.1 | 0.2 | ||||||
| 1 ml < V ≤ 10 ml | 0.1 | 0.2 | ||||||
| Adapter for pipette calibration | MY 11 | XA 11 | XA 17 | XA 100 | XA 17 | XA 100 | ||
| Maximum vessel capacity | 11 ml | 11 ml | 17 ml | 100 ml | 17 ml | 100 ml | ||
| Weighing vessel mass | ~10 g | ~10 g | ~11 g | ~65 g | ~11 g | ~65 g | ||
1 For practical purposes, the nominal volume may be used to choose the balance. [Reference: ISO8655-6:2002, pg. 2]
If the standard uncertainty of measurement of the balance is known (e.g. from the balance calibration certificate), it may be used instead of the repeatability and linearity. The standard uncertainty of measurement shall not be more than two to three times the resolution. [Reference: ISO8655-6:2002, pg. 2]




 Albanian
 Danish
 Nederlandse
 Estonian
 Finnish
 Hungarian
 Icelandic
 Kazakh
 Latvian
 Lithuanian
 Macedonian
 Norwegian
 Portuguese
 Romanian
 Russian
 Slovak
 Slovenian
 Swedish
 Ukrainian
 Serbian
 Montenegrin
 Deutsch
 Español
 Français
 Italiano
 Japanese (日本語)
 Polski
 Türkiye
 Česky
Česky Português (Brasil)
 中文
中文


