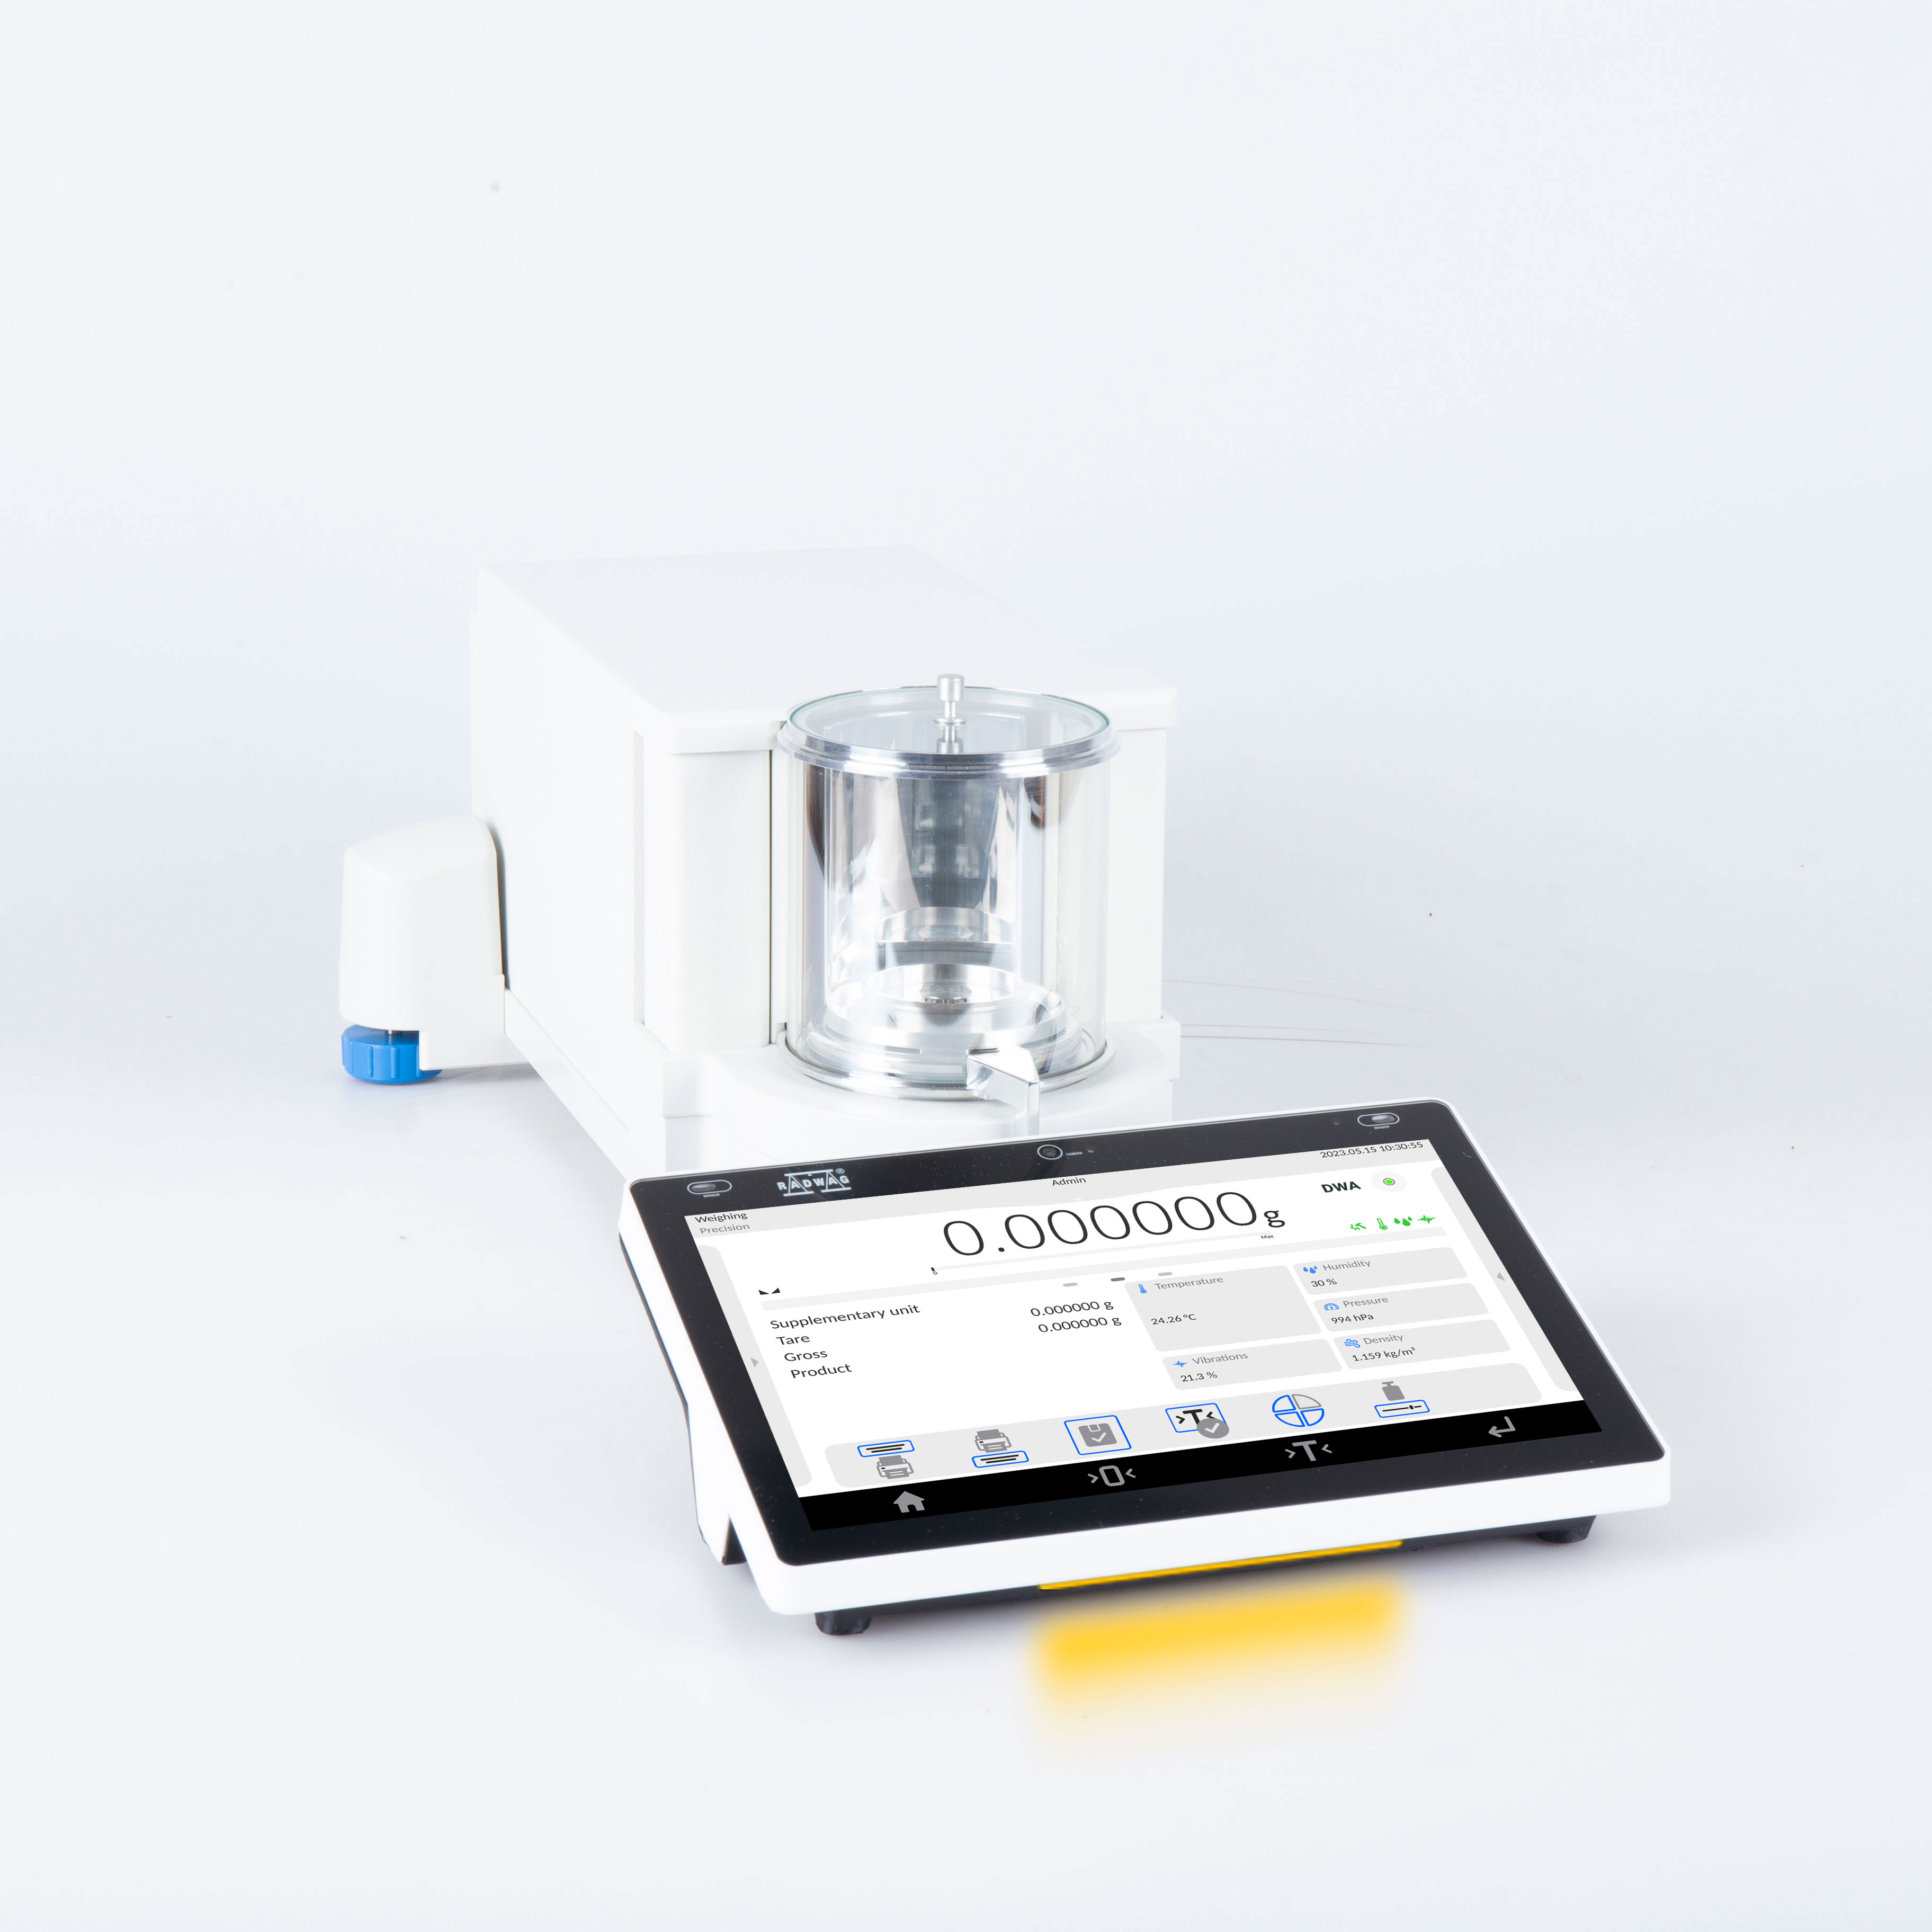
MYA 11.1.5Y Microbalance

Radwag – Laboratory and Industrial Weighing Solutions
Selected language English
MYA 11.1.5Y Microbalance
This image is for reference only.

MYA 11.1.5Y Microbalance

Product code: WL-109-0051
Change the model (4)
done
expand_more
Max: 0.8 / 3gd: 1 / 10µg

 ø16 + ø60mm
Max: 11 / 52gd: 1 / 10µg

 ø26 + ø40mm
Max: 21 / 52gd: 1 / 10µg

 ø26 + ø40mm
Maximum capacity [Max]: 11 g
Readability [d]: 1 µg

close
Change the model:
MYA 0.8/3.5Y Microbalance
MYA 11/52.5Y Microbalance
MYA 21/52.5Y Microbalance
Select all
Show me
Download
Add to compare Advanced search
Overview

MYA 11.1.5Y Microbalance

 
MYA Microbalances are very precise laboratory devices. They have unmatched repeatability values, their readability is impressively high (from 1 µg), and their maximum capacity – very small (to 52 g). It is these three features that make MYA Microbalances excellent weighing devices for very small masses, used in research laboratories, including pharmaceutical, physical, chemical, biological and medical ones. Thanks to the best weighing parameters, the microbalances of this series will prove themselves in the most advanced laboratory processes.


What Are the Benefits of Choosing MYA Microbalances?

MYA Microbalances have the world’s lowest reading unit [d] 1 μg and the lowest minimum weight [USP] 0.82 mg. They are equipped with an automatic, draft-proof weighing chamber and have a fully automatic levelling system.
 
We offer a large selection of MYA Microbalance models, and thus a wide spectrum of readability and maximum capacity, which translates into a variety of applications for this series of balances.


Do you need a balance that not only determines weight with impressive accuracy, but also performs a digital audit, responds to your voice commands and sends you light messages?


If so, learn about the functionality of the ELLIPSIS series of balances:
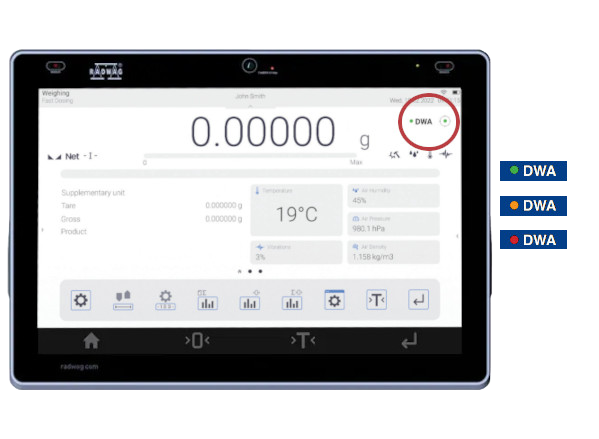


Digital Weighing Auditor
Ensures that your balance is ready for use. It enables air buoyancy compensation in real-time. What is more, it informs about the need for a balance inspection or a periodic audit of the balance’s accuracy and sensitivity.


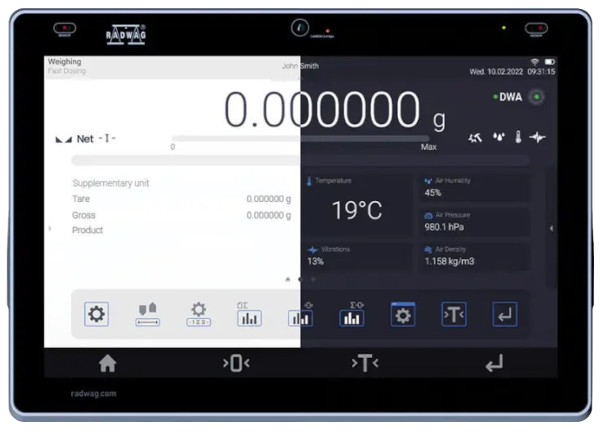
10-Inch Display

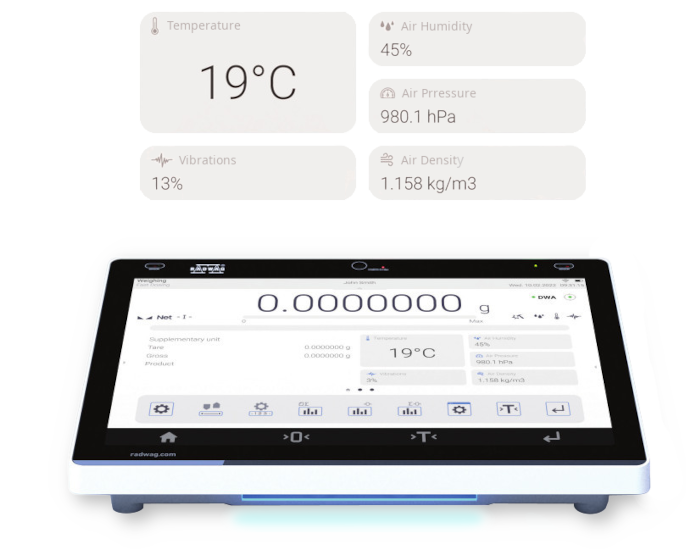
Bigger screen – 10’’ – means more information in one place. On the new ELLIPSIS terminal, you will see up to 3 screens, widgets, graphs, statuses, notes, handy measurement history.


Uncompromising User Verification

For the first time ever, the balance will verify the user using a password,
RFID card, fingerprint reader, facial recognition mechanism, or any combination of these.


Ambient Light – An Innovative Way for the Balance to Communicate With the User

The light colour will tell you about status, process results, procedures, or alerts.


Hotspot

Use the balance on any device connected to it. This can be a smartphone, tablet, or computer.


RFID

ELLIPSIS works with RFID tags* that can be used to tag your products or formulation ingredients in the database. They can also be used to identify a user.


Live Note – Note Down Your Conclusions
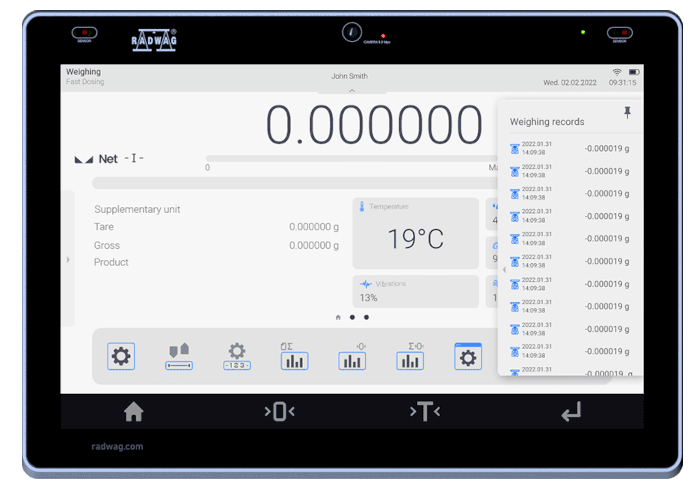
It’s the first time you can add a voice memo to a measurement series or procedure report. If you prefer to write it down, ELLIPSIS allows you to add a text note.


Handy Library

This is where a series of recent measurements or a report ready for digital signature, according to 21 CFR Part 11, can be found.


Widgets

Prepared to display what you need most at any given moment.


Automatic Leveling of the Balance ReflexLEVEL System
Instead of manually leveling your scale - level it automatically.
The ReflexLEVEL System saves you time and gives you maximum precision in your measurements.


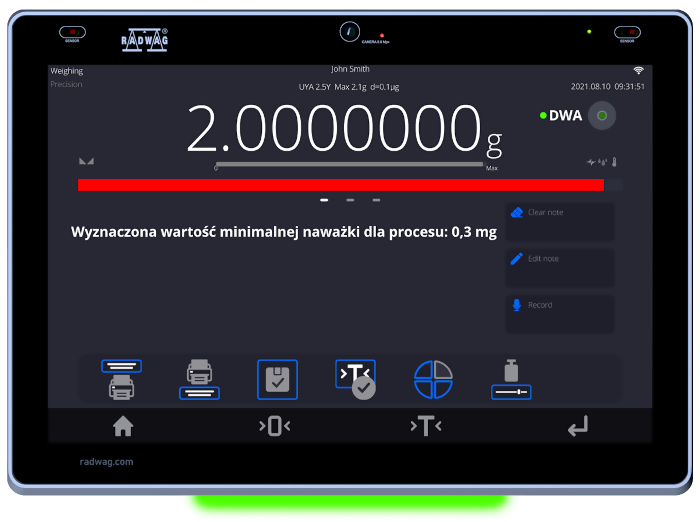
Smart Min Weight

The balance displays whether the value of the weight you want to weigh is below or above the minimum weight threshold.


21 CFR Part 11

Do you work in the pharmaceutical industry? Do you need a digital signature?

We are offering the laboratory balance which as a standalone fully meets the requirements of 21 CFR Part 11/ EU GMP Annex 11.
 
 Full data security
 Electronic signatures
 Validations
 Electronic records
 Audit trails


Modbus TCP/IP

is one of the most popular communication protocols in industrial automation. Implementing it in the 5Y balances and CY10 scales makes the devices of this series friendly to automation integrators. 
 
A balance or scale in a Modbus system is a slave device and performs tasks specified by the master device which is most often a PLC. Protocol Modbus TCP/IP in the 5Y balances and C10 scales enables, among other things, the realization of mass readout, zeroing and tare functions of the device, as well as tare settings and MIN and MAX thresholds.


Two-point adjustment

Adjacency, which takes place at two measurement points instead of one, improves measurement precision over the full weighing range. And what does this mean for you? More accurate measurement.


* RFID ISO/IEC 14443 Type A, 13.56 MHz


Datasheet
Maximum capacity [Max]

11

 g

Minimum load

0.1

 mg

Readability [d]

1

 µg

Verification unit [e]

1

 mg

Tare range

-11

 g

Standard repeatability [5% Max]

0.45

 µg

Standard repeatability [Max]

2.5

 µg

Standard minimum weight (USP)

0.9

 mg

Standard minimum weight (U=1%, k=2)

0.09

 mg

Permissible repeatability [5% Max]

1.6

 µg

Permissible repeatability [Max]

3.5

 µg

Linearity

±6

 µg

Eccentric load deviation

6

 µg

Sensitivity time drift

1×10⁻⁶/Year×Rt


Stabilization time

3.5

 s

Adjustment

internal (automatic)


OIML Class

I


Leveling system

automatic – Reflex Level System


Display

10″ graphic colour touchscreen


Weighing chamber doors

automatic


Delivery components

Microbalance, terminal, weighing pan, weighing pan shield, glass lid, power supply, pincette, brush, fabric dust cover.


Weighing chamber dimensions

ø 90×90

 mm

Weighing pan dimensions

ø16

 mm

Packaging dimensions

750×492×595

 mm

Net weight

9.1

 kg

Gross weight

15.5

 kg

Communication interface

2×USB-A, USB-C, HDMI, Ethernet, Wi-Fi®, Hotspot


Power supply

Adapter: 100 – 240V AC 50/60Hz 1A; 15V DC 2.4A
Balance: 12 – 15V DC 1.4A max*


Operating temperature

+10 – +40

 °C

Operating temperature change rate

±0.3 °C / 1 h (±1 °C / 8 h)


Relative humidity

40% – 80%


Relative humidity change rate

±1% / h (±4% / 8 h)


CE
Verification Extra payment
for verification
5 years warranty
Repeatability is expressed as a standard deviation from 10 cycles of mass standard weighing.
Stabilization time dependson the ambient conditions and the dynamics of weighing pan loading; specified for FAST profile.
* The power supply can be connected to the socket on the back of the balance housing or to the terminal.
Videos
5Y Balance and Barcode Scanner – Easy Connection
New Menu Language in 5Y Series Balances: Japanese
5Y Functions: Checkweighing
5Y Functions: Dosing
5Y Functions: Formulations
Percentage deviations
5Y Functions: Weighing
5Y Functions: Parts counting
5Y Functions: Proximity Sensors – Touch-Free Control (Tutorial)
5Y Functions: GLP Procedures – Objective Documentation of Measurements (Tutorial)
Weighing Printout Design in Analytical and Precision Balances (Tutorial)
Easy Printing with Wi-Fi® Thermal Receipt Printer by RADWAG.
ELLIPSIS – New Balance by RADWAG
ELLIPSIS – Cutting Edge, Innovative, New
Talk to it. Voice Commands in New ELLIPSIS Balance by RADWAG
310 ELLIPSIS – Scan or Tap to Log In
Remote VPN Support on ELLIPSIS Balances
ELLIPSIS – Unlimited Connections
Connecting RADWAG RTP-UEW80 Printer via Wi-Fi® (Tutorial)
MYA 5Y Unpacking and Installation (Tutorial)
RTP - The First Receipt Printer of RADWAG Production!
Complete Solutions for Mass Measurement in Pharma Industry
New AS and PS 5Y Balances – Autotest (Tutorial)
Functions
Autotest

Autotest

Diagnostic function aiming at metrological parameters determination (repeatability), the parameters are determined for the actual conditions of use. When speaking of repeatability it may be also used for weighing time optimization. Autotest is operated in an automatic mode thus operator’s time is saved.
Dosing

Dosing

Weighing process for which reference mass has been determined together with tolerance for its determination. Dosing tolerance is given in [%] and it is calculated in relation to the reference value thus being a permissible deviation of this process. This solution is used for weighing powders, liquids and loose materials. Dosing function performance is often supported with bargraph - load indicator. For industrial scales it is possible to use a control systems of dosing process.
Percent Weighing

Percent Weighing

Percent Weighing function is used for comparision of measured products with mass standard. Mass of a mass standard may be a numeric value taken from a database or it may be determined through a measurement process. Each measured product is compared to mass standard, mass of which is presumed as a model 100% ideal mass. For products weighing less than the mass standard, obtained results are lower than 100%, for products weighing more, the obtained results are greatly  exceeded.
Parts counting

Parts counting

Function using mass measurement for determination of  measured items quantity. Mass of a single item is required for this process. It may be either estimated through weighment or taken from a database. For items counting the following algorithm is used: all items mass / single item mass = quantity. Function operation is supperted by a mechanism of Automatic Correction of Accuracy. This allows to update single item mass in course of the process. To a certain extend Automatic Correction of Accuracy eliminates error which may be a result of different mass values of seemingly alike single elements. For industry solutions items counting may be simultaneously carried out with checkweighing and dosing thus industry solutions feature audio signalling base informing that specified number of items has been weighed. It is possible to apply weighing systems using few platfroms of different MAX capacities and different accuracies.
Peak hold

Peak hold

Function registering the greatest temporary indication occurring in course of the weighing process. It is most often used in medical scales in order to hold the measurement indication.
Formulation

Formulation

Function supporting the mixture making process, wherein the mixture contains various components. Formulation function usually uses the balance/scale database of components. Formulation serves for monitored checkweighing of every single component with a given tolerance. It is enriched with a set of individual settings.
Statistics

Statistics

Statistiscs function registers and analyses performed measurements. This supplies the user withthe following information: Max and Min standard deviation, average value, variance, range et.
Checkweighing

Checkweighing

Checkweighing function is used for checking whether the measured sample mass is within the predefined threshold values, Low [LO] and Hgh [HI]. The thresholds are given in [g] and [kg] units. Current state of a sample being measured is signalled by means of pictorgams located on a display for laboratory balances, for industrial scales Stackligt System is used. This visual +/- inspection is in operation during segregation, control or packing process of products for which mass has bees determined with a specifaied tolerance, eg. 12860 g 961
IR sensors

IR sensors

Programmable function supporting the weighing process through control of the following options: sliding weighing chamber doors, printout, zeroing, tarring etc. Especially appreciated wherever preventing the balance from soiling is important.
GLP Procedures

GLP Procedures

Diagnostic function allowing to objectively document performed measurements. GLP procedures may be either presented in a short report form or extended one.
Animal weighing

Animal weighing

Process of mass determination for a product which may unwillingly reposition within the weighing pan. Mass determination in such cases requires much longer period of time when compared to typical weighing process. It is the user who defines period of time needed for control of measured product mass. The user can thus optimize the function depending on the measured product characteristics.
Pipettes Calibration

Pipettes Calibration

Function verifying correctness of piston pipettes functioning, the verification is performed via gravimetric measurement of the excreted liquid. Pipettes calibration may be either a stand-alone module or it may be operated
Air density correction

Air density correction

Function performing correction of mass measurement indication, wherein the air density is taken into account. It is used in balances with reading unit < 0,01 mg.
Density determination

Density determination

Liquid or solid body density function uses the Archimedes principle and it requires a special kit to be applied. The kit when used, replaces a weighing pan. For solids mass of the sample must be determined first in the air, next in the liquid of specified density. For liquids the so called sinker, density of which has been determined, must be measured first in the air, next in the tested liquid. The density determination process is disturbed by air bubbles which may stick either to the measured sample or the sinker. In case of laboratory equipment very light solids may be measured. For industry, solid bodies density may be determined by means of  under-pan weighing. Tested load of significant size may be measured this way.
Differential weighing

Differential weighing

Differential weighing informs about mass variation a particular sample, wherein the said variation is a result of manufacturing processes.

Differential weighing is often applied in product control process, for which reference product parameters have been specified in order to be used as a source of comparison for the whole series.
Insuchcasestandard deviation is the information which tells about quality and completeness of a final product. For systems based on a feed-back technique such information may be used by control units.
Ambient conditions monitoring

Ambient conditions monitoring

The possibility of cooperation with the THBR 2.0 system
Statistical Quality Control

Statistical Quality Control

Statistical control for determination of basic statistical criteria: maximum, minimum, standard deviation, mean values for each batch, etc.
Packaged Goods Control

Packaged Goods Control

Pre-packaged Goods Control mode enables to collect weighings from RADWAG-designed weighing instruments, carry out control and generate PGC reports. Different types of weighing instruments can be combined into a network. The control can be started on a balance or via computer software. It is automatically finished after a respective quantity of packages is verified.
Collected data allows you to assess quality of produced pre-packaged goods and their conformity with:
- internal quality control system;
- 'Pre-Packaged Goods' regulation of 7th May 2009 (Journal of Laws No 91, item 740), on the requirements concerning quantity inspection of pre-packaged goods control, which inspection is to be carried out by means of random selection of the measurements results and sending those results to pre-packaged goods control procedure.
ALIBI Memory

ALIBI Memory

"ALIBI" memory enables saving and storing up to 100000 measurements.  Measurements are saved automatically upon each pressing of the key. There is no need for any additional operations or changing settings.
The following data related with the measurements is saved: measurement date; measurement time; result (mass); tare value; operator carrying out the measurement (logged in); product name.
The software saves the measurement in a so called loop, i.e. when the measurement no. 100001 is saved, the measurement 1 gets automatically deleted from the memory.
Measurements saved to balance memory cannot be deleted.
You can preview and print out the data saved to the ALIBI database.
Wi-Fi®

Wi-Fi®

Thanks to wireless communication between the computer and a balance, it is possible to use a balance inside a laminar flow hood and a fume cupboard.

Documentation
Datasheet
Data Sheet Data Sheet
Data Sheet

Show me
Show me
Download
Download

Choose more product:
Show me Show me DownloadDownload
User Manuals
User Manual
User Manual
Show me
Show me
Download
Download
(2.36 MB)
User Manual
User Manual
Show me
Show me
Download
Download
(1.24 MB)
Software Manual
Software Manual
Show me
Show me
Download
Download
(1.23 MB)
Start Up Guide
Start Up Guide
Show me
Show me
Download
Download
(6.58 MB)
Conformity Declarations
Conformity Declaration
Show me
Show me
Download
Download
(0.04 MB)
Publications and Brochures
Laboratory balance cleaning
Show me
Show me
Download
Download
(2.52 MB)
RTP Thermal Receipt Printer
Show me
Show me
Download
Download
(1.64 MB)
Lexicon of Basic Metrological Terms
Show me
Show me
Download
Download
(6.31 MB)
RFID
RFID
Show me
Show me
Download
Download
(0.68 MB)
Hybrid Protective Glass
Show me
Show me
Download
Download
(1.86 MB)
Micro Scale Measurement
Show me
Show me
Download
Download
(2.74 MB)
Laboratory Balances
Laboratory Balances
Show me
Show me
Download
Download
(1.68 MB)
ELLIPSIS 5Y Laboratory Balances
Show me
Show me
Download
Download
(33.90 MB)
Accessories
R-LAB

Accessories

Additional modules

RES Radwag Extended SI Module3
21 CFR Part 11 Compliance Module3

Radwag Balances and Scales
Torunska 5
26-600 Radom
Poland
tel.: +48 48 386 60 00
e-mail: export@radwag.com
TIN: PL7960000327
Vimeo Radwag YouTube Radwag Facebook Radwag LinkedIn Radwag
© 2024 RADWAG Balances and Scales. All rights reserved.

Select language

×
Change language AlbanianAlbanian
Change language DanishDanish
Change language NederlandseNederlandse
Change language EstonianEstonian
Change language FinnishFinnish
Change language HungarianHungarian
Change language IcelandicIcelandic
Change language KazakhKazakh
Change language LatvianLatvian
Change language LithuanianLithuanian
Change language MacedonianMacedonian
Change language NorwegianNorwegian
Change language PortuguesePortuguese
Change language RomanianRomanian
Change language RussianRussian
Change language SlovakSlovak
Change language SlovenianSlovenian
Change language SwedishSwedish
Change language UkrainianUkrainian
Change language SerbianSerbian
Change language MontenegrinMontenegrin
Change language page on Deutsch Deutsch
Change language page on Español Español
Change language page on Français Français
Change language page on Italiano Italiano
Change language page on Polski Polski
Change language page on Türkiye Türkiye
Česky
Português (Brasil)
Change website to USA USA
Change language page on 中文 中文
Presentations Presentations Presentations
Subscribe Subscribe Subscribe
Radwag in Facebook Radwag in Facebook Facebook
Radwag in YouTube Radwag in YouTube Youtube
Radwag in Vimeo Radwag in Vimeo Vimeo
Radwag in LinkedIn Radwag in LinkedIn LinkedIn
Webinars Radwag Webinars Radwag Webinars
close
E-mail:
Company name:
Name:
I consent to the processing of my personal data for marketing purposes by Radwag Wagi Elektroniczne Witold Lewandowski.
I consent to receive marketing and product-related messages by electronic means from Radwag Wagi Elektroniczne Witold Lewandowski.
I have read the Privacy Policy of RADWAG Wagi Elektroniczne Witold Lewandowski.
lock_openI want to access the files
close
Slide to go back ↩