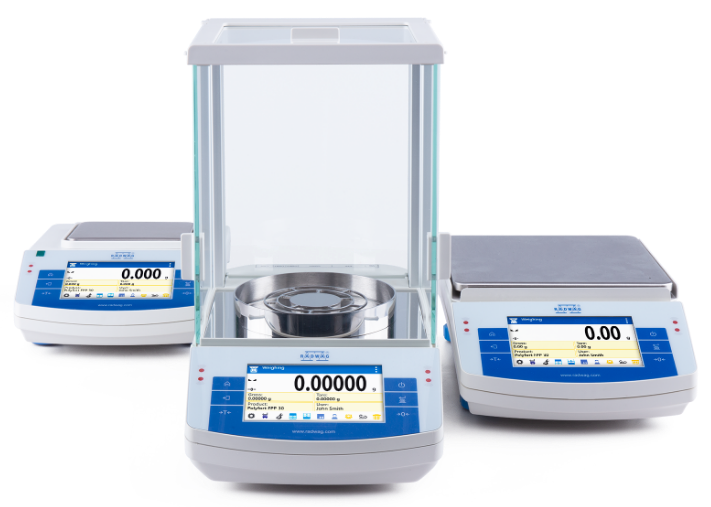

Calibration of Electronic Balances
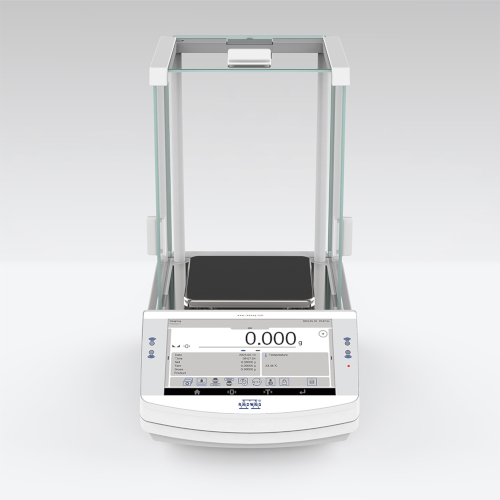
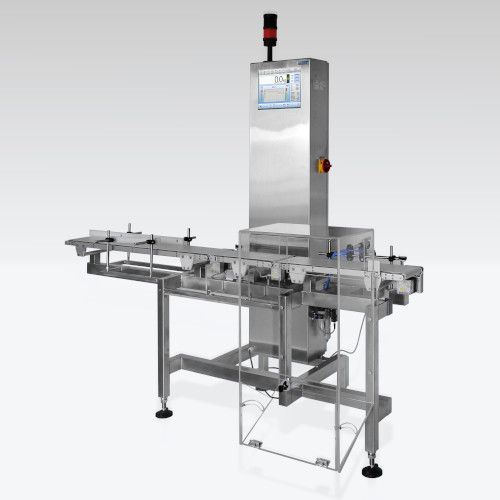
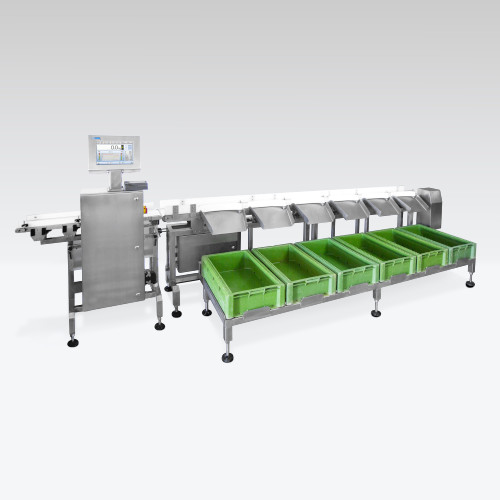
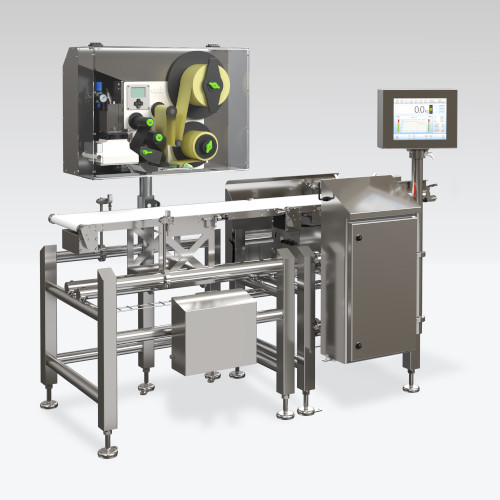
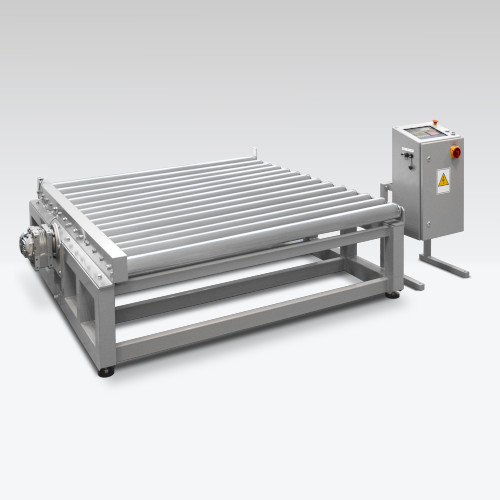
Scope of accreditation: • non-automatic electronic weighing instruments with the maximum capacity of 3000 kg,• automatic electronic weighing instruments with the maximum capacity of 60 kg,
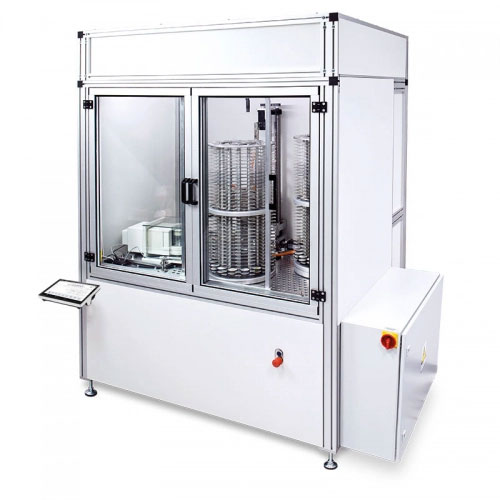
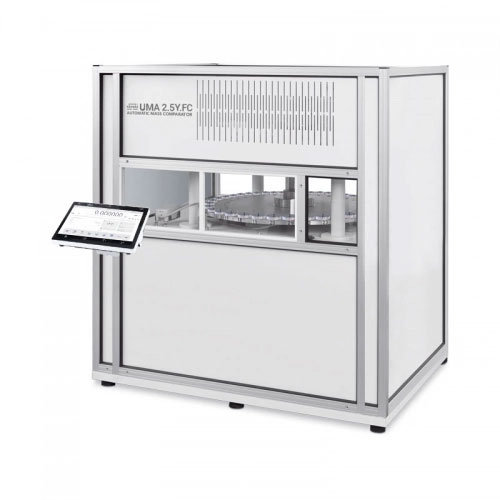
• electronic weighing instruments / mass comparators with the maximum capacity of 3000 kg,
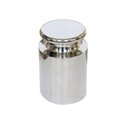
• 25 kg mass standards,
• 1 g - 20 kg weights
Standard calibration of non-automatic balances:
• determination of indication errors (systematic errors) in 5 measurement points maximum,• determination of repeatability (random error expressed by standard deviation),
• determination of errors resulting from eccentric loading,
• determination of indication error (systematic error) with TARE device in operation,
• calibration certificate issue
Standard calibration of automatic weighing instruments:
• determination of statistical errors (statistical indication error, repeatability expressed as a standard deviation, errors resulting from eccentric loading),• determination of dynamic errors (standard deviation determined using test object),
• calibration certificate issue
Additionally, we offer an assessment of conformity with the following:
• 2014/31/EU directive of 26 February 2014 regarding non-automatic weighing instruments,• PN-EN 45501:2015 Standard, Metrological Aspects of Non-Automatic Weighing Instruments,
• Regulation of the Minister of Economy of 31st January 2008, on the requirements set for non-automatic instruments, and detailed scope of tests, carried out in the course of legal metrological control of these measuring devices, in terms of MPE's referred to a verification unit e.
• Assessment of conformity with customer-specified requirements is possible.
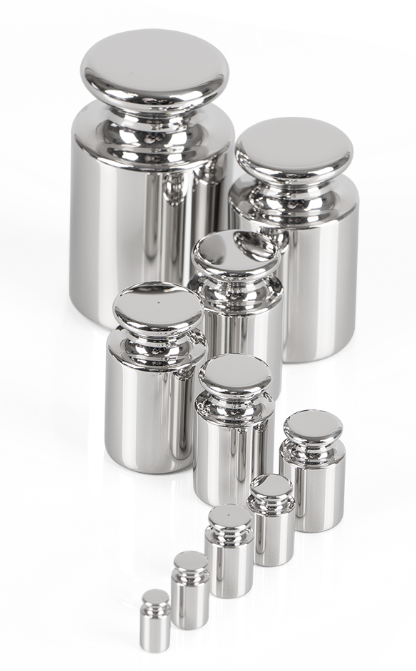

Calibration of Mass Standards
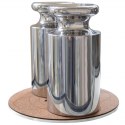
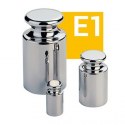
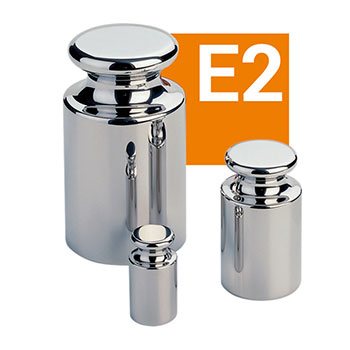
Scope of accreditation: • 1 mg - 500 mg mass standards and weights of class E1• 1 mg - 1 kg mass standards and weights of class E2
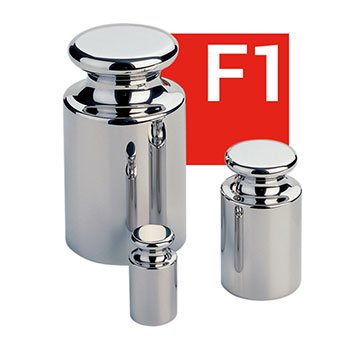
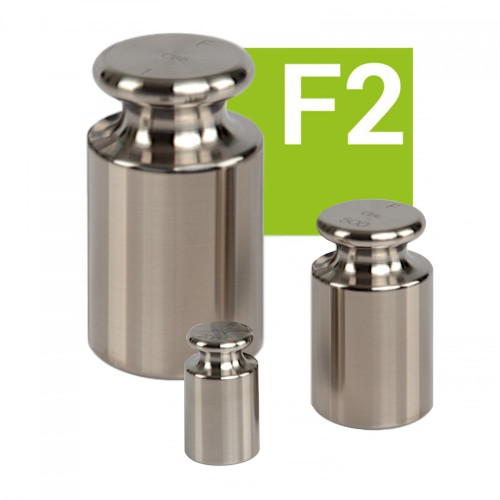
• 1 mg - 1000 kg mass standards and weights of class F1, F2, M1, M2 and M3
• 25 kg mass standards,
• 1 g - 20 kg weights,
Calibration of mass standards includes determination of mass standard's weight along with an expanded uncertainty and issue of the calibration certificate.
Additionally mass standards adjustment (regulation of mass standard weight so that it meets the maximum permissible error requirement for a given class or customer-specified tolerance – if technically possible) and confirmation of compliance with customer requirements are possible.
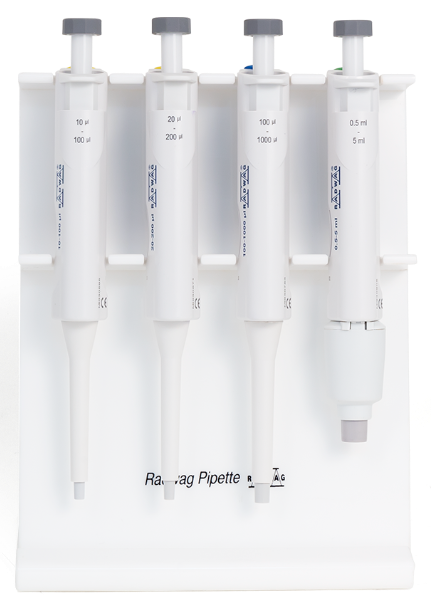

Calibration of Automatic Piston Pipettes
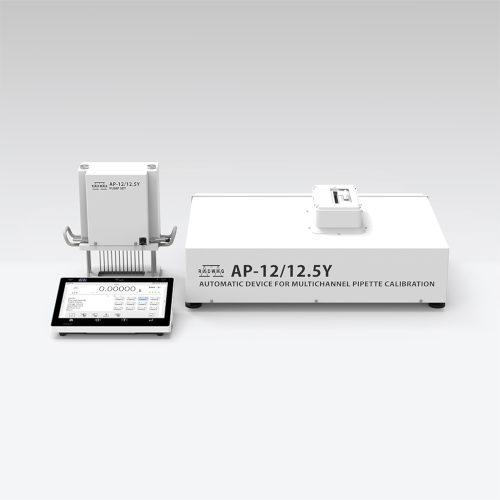
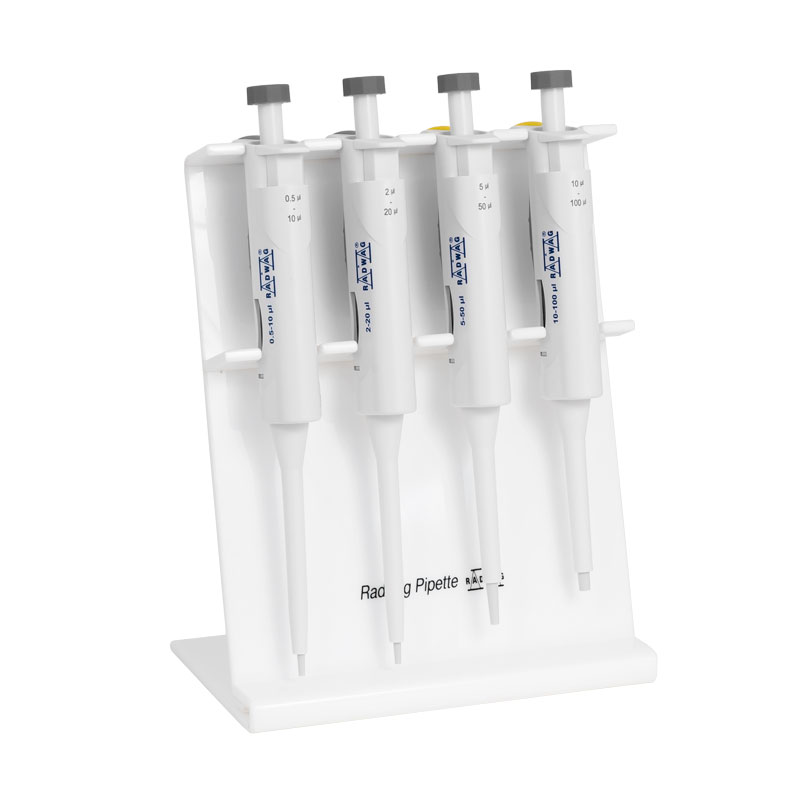
Accreditation range covers • pipettes of fixed and adjustable volume ranging between 1 µl - 10 000 µl.Calibration is carried out with use of a gravimetric method and in accordance with the requirements of ISO 8655-6 standard. The calibration certificate may additionally feature results of calculations of errors specified by ISO 8655 standard. These are:
• systematic error es – determined in [µl] unit and in [%],
• random error – determined as standard deviation Sp in [µl] unit and CV in [%] unit.
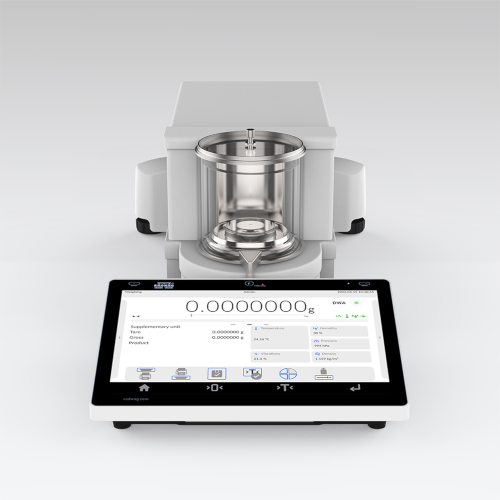
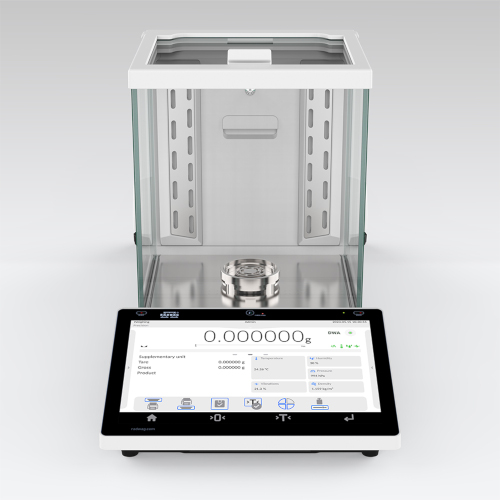
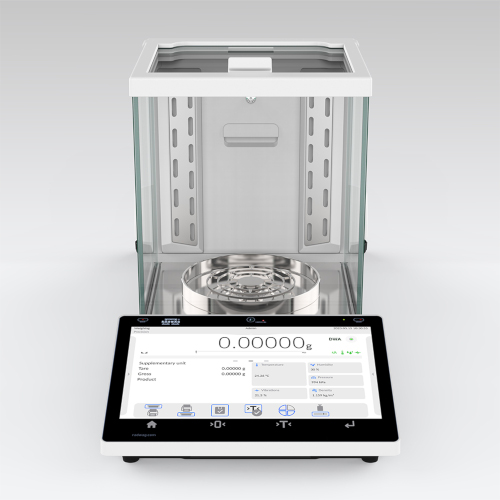
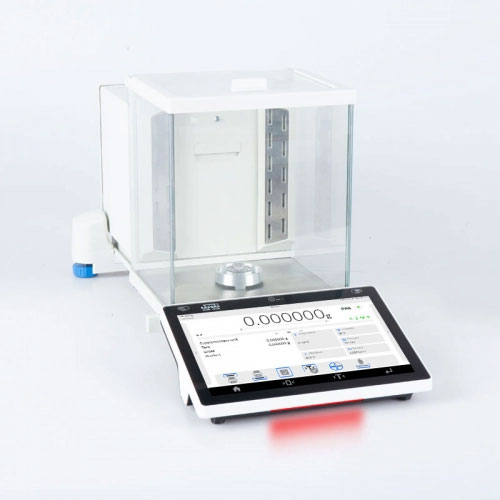
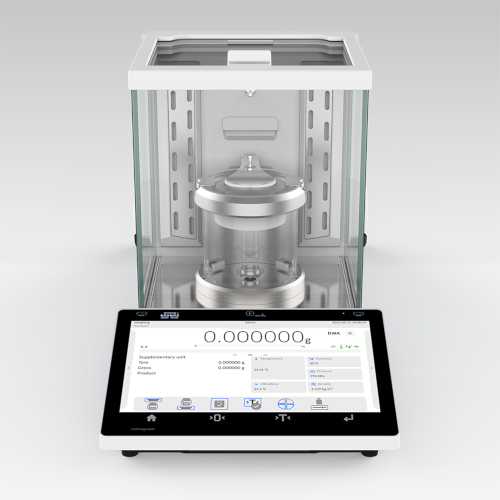
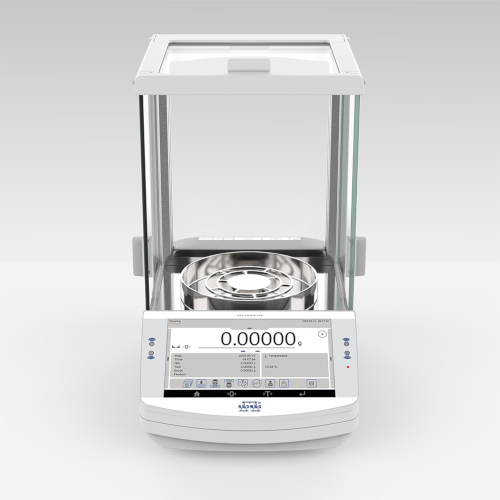
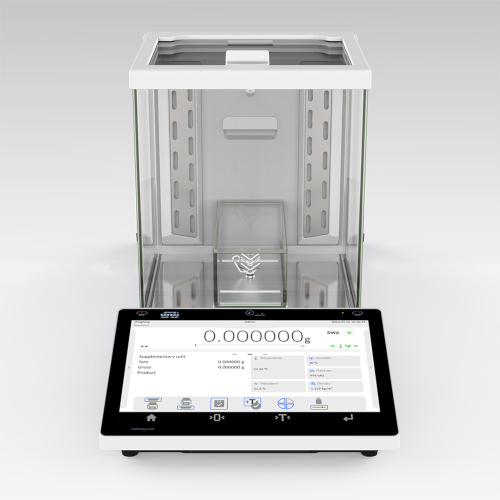
Calibration of piston pipettes includes determination of indication error of the pipette for the tested volume along with an expanded uncertainty, and issue of the calibration certificate. Traceability is referred to the standard of mass measurement unit through use of electronic balances (microanalytical), which feature valid calibration certificate issued by an accredited calibration laboratory. The balances comply with metrological requirements specified for a gravimetric method in ISO 8655-6 standard.























 Albanian
 Danish
 Nederlandse
 Estonian
 Finnish
 Hungarian
 Icelandic
 Kazakh
 Latvian
 Lithuanian
 Macedonian
 Norwegian
 Portuguese
 Romanian
 Russian
 Slovak
 Slovenian
 Swedish
 Ukrainian
 Serbian
 Montenegrin
 Português (Brasil)
 Deutsch
 English
 Español
 Français
 Italiano
 Japanese (日本語)
 Polski
 Česky
Česky 中文
中文


